Introduction
When you invest in marble flooring, you’re not just choosing a beautiful surface—you’re investing in durability, longevity and value. But how can you be sure the slab you’re picking will stand the test of time, traffic and trends? Enter the marble quality inspection checklist—a step‑by‑step guide to evaluating the stone from its quarry origin all the way to installation. Whether you’re selecting slabs for a luxury villa or a retail space, understanding how to check marble quality, knowing its grading system, and identifying common defects are key. In this article, we’ll walk you through essential quality parameters, grading criteria, inspections you must perform and how to spot issues before they become costly problems. Let’s ensure your marble floors deliver both beauty and performance.
Understanding Marble Quality and Grading
What Determines Marble Quality?
Marble quality depends on several factors including mineral composition, density, porosity, colour consistency and slab thickness. These quality parameters determine how the stone will wear, polish, and age. High‑grade marble generally has fewer fissures, minimal veining off‑pattern, consistent colour and uniform finish.
Marble Grading System
Many suppliers use a grading system (for example: Premium, Standard, Economy) to classify marble based on parameters like veining intensity, uniformity of colour, presence of cracks or natural defects. Understanding this grading system helps you align expectations with pricing and performance. For instance, a slab classified as “Premium” often meets stricter criteria for finish, minimal blemishes and consistency across slabs.
Step‑by‑Step Inspection: From Quarry to Flooring
Quarry and Sourcing Stage
- Verify the origin and quarry of the marble; natural variations may differ by region and affect consistency.
- Inspect rough blocks for major cracks or irregular fissures near veining; these may lead to breakage during cutting.
- Check block size and uniformity to ensure efficient slab production and reduced wastage.
Slab Production and Initial Checks
- Measure slab thickness consistency; a variation of more than ± 2–3 mm can lead to uneven installation.
- Inspect the back‐side of the slab after polishing; dull patches or wire mesh repairs may signal hidden faults.
- Conduct a colour uniformity test: under good lighting check adjacent slabs for tonal shifts or veining misalignment.
Pre Dispatch Inspection
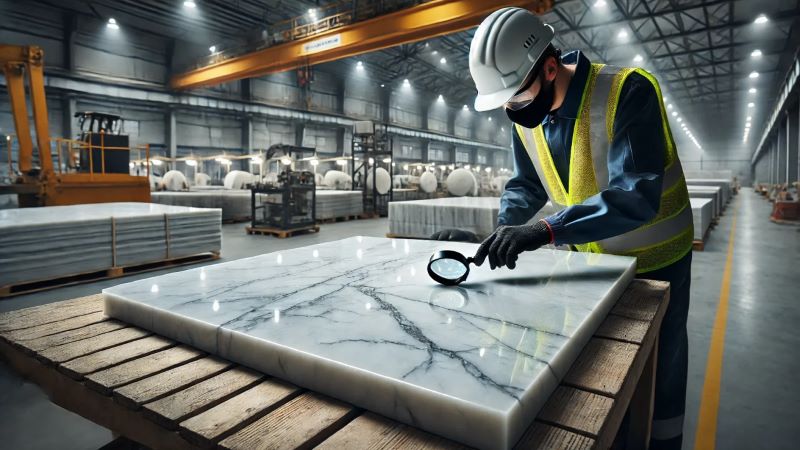
- Perform a surface finish check: look under light at 45° angle for dull spots, chips or repairs – indicators of poor quality.
- Check slabs are straight and edges machine cut; misaligned edges complicate installation and compromise aesthetics
- Ensure proper packing and labelling to avoid breakage during transit; and match slabs to batch numbers when required.
Pre Installation Inspection
- On site, lay out slabs side by side and inspect for vein continuity and consistency.
- Use a level or straight edge to check for flatness and lippage; uneven slabs cause trip hazards and poor finishes.
- Apply a drop of water to test porosity and absorption—but only if appropriate for the type of marble and finish.
Common Defects and What to Look Out For
Cracks, Fissures and Chips
Cracks near heavy veining, stress points or corners are a sign of weak integrity. Avoid slabs with visible wide fissures—these often expand post installation under pressure or heat.
Colour and Tonal Variations
Large tonal shifts or mismatched veining patterns across slabs can spoil uniformity in flooring. Always inspect multiple slabs from the same batch to ensure coordination.
Uneven Finish or Surface Dull Spots
If you see matte or dull patches after polishing, or surface texture is inconsistent, those are red flags of poor finishing or repairs. Such defects affect the long term appearance of the marble.
Thickness Variations and Edge Irregularities
Uneven slab thickness, warped edges or poorly cut sides make installation more difficult and may lead to instability or higher installation cost.
Post Installation Checkpoints
- After laying, check that joints are consistent in width, aligned and filled properly.
- Walk across the floor to detect any hollow sounds which indicate voids beneath the slab—often a result of poor on‑site workmanship.
- Inspect the flooring under varied lighting and at different times of day to confirm colour consistency and absence of surface blemishes.
Creating Your On Site Marble Quality Inspection Checklist
Putting all this into practice means creating a simple, reliable checklist you can use before accepting materials and before final installation. Here’s a sample structure:
- Block Origin & Visual Inspection – origin, major fissures, block size
- Slab Production Review – thickness consistency, finish, back‐side checks
- Pre‑Dispatch Evaluation – colour/vein uniformity, finishing quality, packaging
- Pre‑Installation Verification – batch match, flatness, bench mark on a straight edge
- Installed Flooring Inspection – joint width, surface sound test, final appearance evaluation
Using this structured approach ensures you’re not relying on visual impression alone but on measurable quality parameters and documented results.
Conclusion
A rigorous marble quality inspection checklist is your safeguard against costly surprises, endless repair cycles and aesthetic disappointments. From the quarry origin to the polished floor underfoot, each stage matters. By understanding how to check marble quality, familiarising yourself with the marble grading system, recognising key marble quality parameters, and being alert to defects, you ensure your flooring investment pays dividends.
For expert guidance and premium slabs that pass the highest quality standards, visit Chandan Marbles. With showrooms on Nagar Road, Kharadi, Marketyard in Pune and also in Silvassa, our team is ready to help you select, inspect and install the ideal marble flooring for your space. Feel free to call us at +91 8888843560 or visit our website at www.chandanmarbles.com.


